Last week I showed you this little bit of gorgeousness:
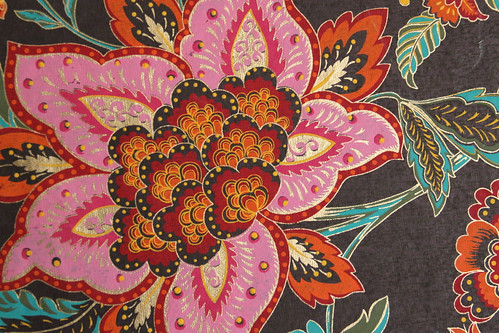
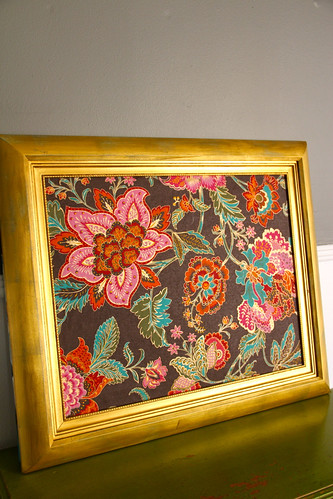
This lovely metallic paper is the main attraction of one my newest projects that I’m entirely in love with:
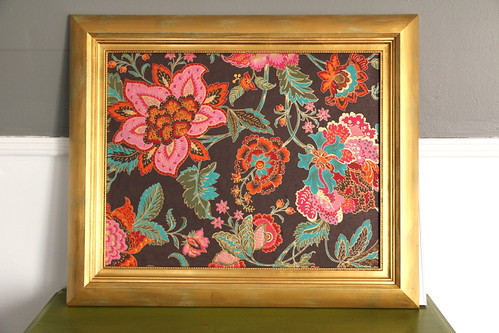
It took me less than 30 minutes to make, and after I finished, the entire painting was only $11! I’m still excited about it!
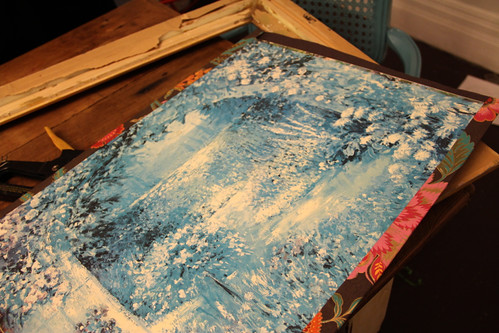
Here’s what I started with:

- a large $7.99 Goodwill painting
- one sheet of handmade wrapping paper from World Market for $2.99
- $1 metallic acrylic paint {I used very little}
- spray adhesive
- paint brush
I loved the bright gold of the original frame, but it had seen better days:
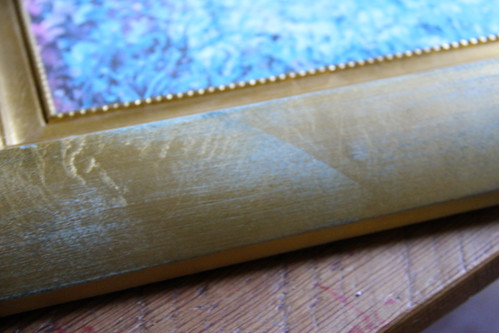
So I touched it up with my strangely perfectly matching acrylic paint:
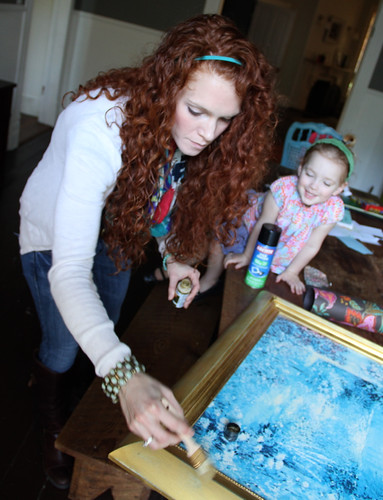
I asked the hubs to take a pic of my hand brushing on the paint, but I like this one better than just my hand- Ava’s laughing and I’m seriously concentrating {I guess?}. I’m always shocked when I see a candid pic of myself. My face naturally looks um… very serious. I have to remember that. ;)
I was going to cut out the paper and glue it on, because the staples were crazy strong on the back. Rob came to the rescue and popped those babies out in no time flat. He’s my knight in shining armor! I was so glad for his help. He’s so much better at these things!
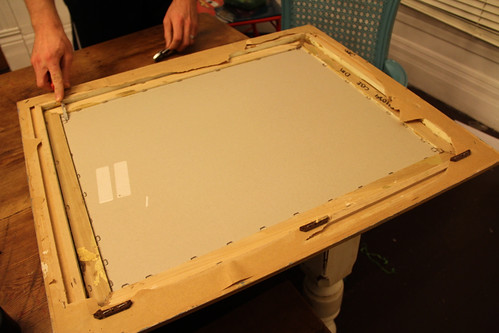
Once the very faded canvas was out, I sprayed the smooth back of it with the adhesive and glued the paper over it. I folded the corners over like wrapping paper and glued them with the spray:
The hubs helped me put it in the frame and re-staple it {love that man!}, and here’s the finished product again:
My favorite part about this project? Seeing that fun art in colors I love doesn’t have to cost $40 or more. :D I think that’s the biggest reason I have had nothing on my walls for so long- I didn’t want to pay big bucks for traditional art that wasn’t really special to me. That, and I was waiting to remodel everything before I decorated.
We’ve been in our house for almost three years, and as of last month, we finally have the walls painted in every room downstairs. Now it’s time to decorate with some pretty, personal, and inexpensive DIY art!
Apparently, I’m not the only one who doesn’t like spending tons of money on wall décor. I was so inspired by seeing Ashley’s fabulous DIY art that she and her husband do all on their own. She does beautiful projects for pennies! I think you will love her!! {someday I even hope to buy her ebook, Handmade Walls! But her site is inspiring on it’s own too!} She made me think outside the box for ways to decorate my bare walls. :D
Her living room makes me smile:

A couple of weeks ago I ordered an Instagram poster a little like the one over her sofa for my living room wall. I LOVE it and I can’t wait to show you guys! It’s so special to me because it visually documents our life for the last year. And it’s on the wall instead of in an album. Eek! Personal, inexpensive, and beautiful wall décor. Such a great idea! :D
How do you make your wall décor personal and unique? And what’s the best way you’ve found to save money on art?
No comments:
Post a Comment